
Creating your first rhinestone design is easier when you treat it like a clean starter file: one main shape, readable sizing, and a short path from idea to finished template. This guide follows the Rhinely Academy beginner path, so you can read the workflow first and then watch the matching lesson.
1. Start with the canvas and a simple idea
Open Rhinely, create a new design, and choose the folder where the design should be saved. If you are designing for a shirt, bag, or transfer sheet, set the approximate final width early so stone spacing and the final count stay realistic.

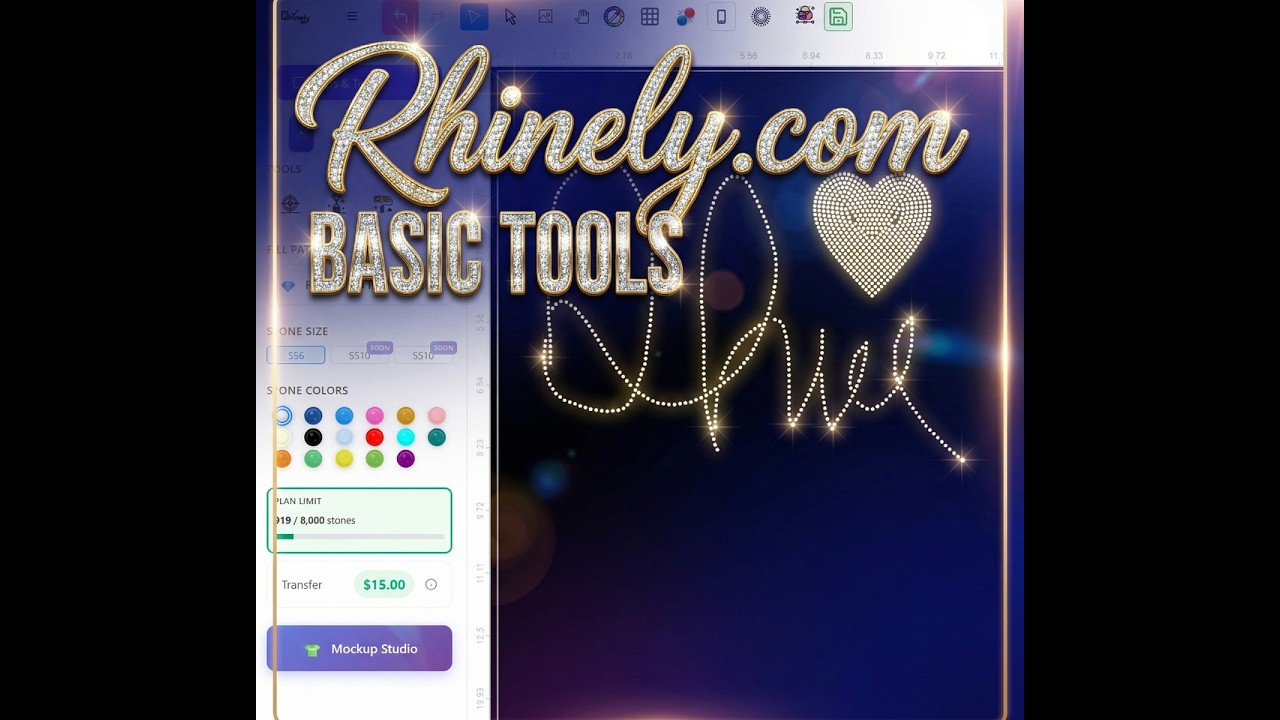
2. Learn the basic tools before adding details
Use the selection, shape, text, sizing, and arrange tools until you can move around the editor confidently. The fastest way to improve is to make small changes, preview them, and undo anything that makes the design harder to weed, press, or read.
Quick beginner checklist
- Pick one simple design idea.
- Set the final width before placing stones.
- Use clear shapes or readable text first.
- Preview the design from a distance.
- Save a clean version before experimenting.
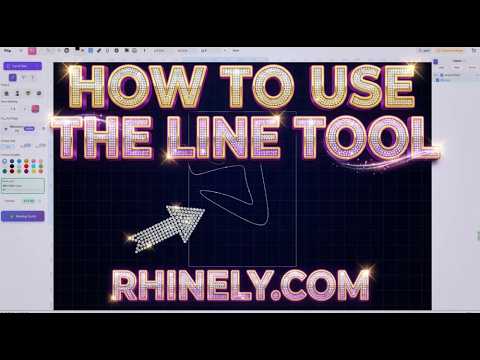
3. Build clean lines and text
For a first design, the line tool and text tool are usually enough. Use the line tool for simple outlines, dividers, and accents. Use the text tool for short words or initials, then check that spacing still looks even after rhinestones are applied.
4. Save the design and keep improving it
Once the design looks balanced, save it as your first working file. From there, duplicate the design and test small variations: a different font, a bolder outline, a cleaner stone color, or a simpler layout.
Watch the Academy lessons
Use these lessons when you want to see the exact clicks inside Rhinely.
Leave a comment
Your email address will not be published. Required fields are marked *
Related Articles

How to Add Text in Rhinely and Turn Fonts into Rhinestone Designs
A beginner-friendly text tool guide showing how to choose Google Fonts, set spacing, convert text to rhinestones, apply text effects,...
Read guide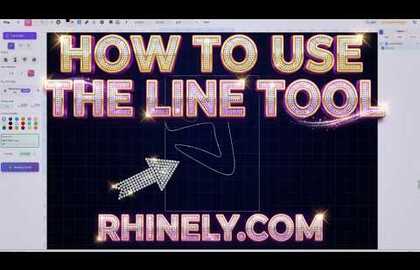
How to Use the Line Tool in Rhinely for Custom Rhinestone Shapes
Learn how the Rhinely Line Tool creates connected points, custom outlines, and clean rhinestone-ready shapes inside the designer.
Read guide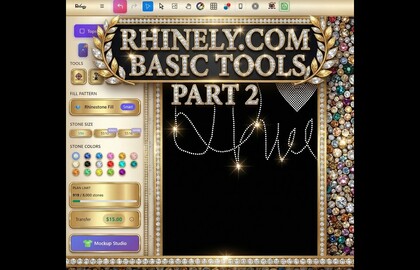
Rhinely Basic Tools Part 2: Lines, Text, Brushes, and Fill Styles
A walkthrough of the second Rhinely basic tools lesson covering line drawing, the shape library, Google Fonts text, manual stones,...
Read guide