
The Text Tool turns typed words into rhinestone artwork. This is one of the most useful tools in Rhinely because names, team words, initials, slogans, and short phrases are common rhinestone design requests.

1. Open the Text Tool
The Text Tool is on the left side of the Rhinely designer. Click it to open the text panel, then type the word or phrase you want to design.
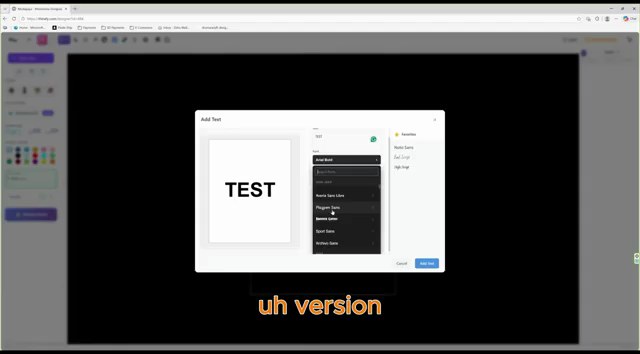
2. Choose a Google Font
Rhinely uses Google Fonts, so you can browse many font styles directly inside the designer. If you find a font you expect to use again, click the star to add it to your favorites.
3. Adjust spacing, size, and style
Before adding text to the canvas, adjust letter spacing, line height, size, and available font weights such as normal, bold, or black. These settings matter because rhinestone text has to be readable and producible.
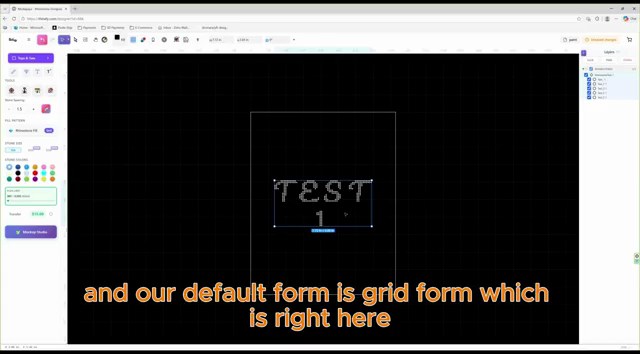
4. Add the text as rhinestones
When you click Add Text, Rhinely places the text on the canvas as a rhinestone form. The default is a grid format, but you can switch to Smart, Outline, Hexa, or Flexible.
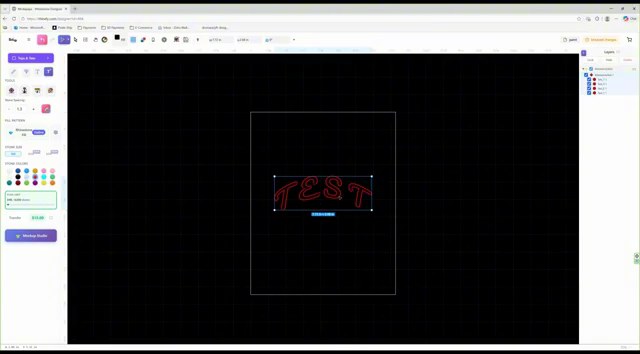
5. Apply text effects
After text is on the canvas, an extra text effect button appears near the Text Tool. The sliders let you adjust curved, warped, or decorative text layouts until they fit the design.

6. Update text before breaking it apart
If the wording is wrong, double-click the text and update it. You can also right-click and break the text into individual letter forms, but once text is broken, it cannot be edited like normal text anymore.
Text Tool checklist
- Click the Text Tool in the left toolbar.
- Type the word or phrase.
- Choose a Google Font and favorite it if useful.
- Set size, spacing, line height, and weight.
- Add the text to the canvas.
- Switch from grid to smart, outline, hexa, or flexible if needed.
- Apply text effects after spelling and font are final.
- Break text only when you are ready to edit letters individually.
Watch the matching lesson
Leave a comment
Your email address will not be published. Required fields are marked *
Related Articles
How to Use the Line Tool in Rhinely for Custom Rhinestone Shapes
Learn how the Rhinely Line Tool creates connected points, custom outlines, and clean rhinestone-ready shapes inside the designer.
Read guide
Rhinely Basic Tools Part 2: Lines, Text, Brushes, and Fill Styles
A walkthrough of the second Rhinely basic tools lesson covering line drawing, the shape library, Google Fonts text, manual stones,...
Read guide
Rhinely Basic Tools Part 1: Selection, Images, Grid, and Collision Checks
A practical recap of the first Rhinely basic tools lesson covering selection tools, image import, workspace controls, grid visibility, overlap...
Read guide