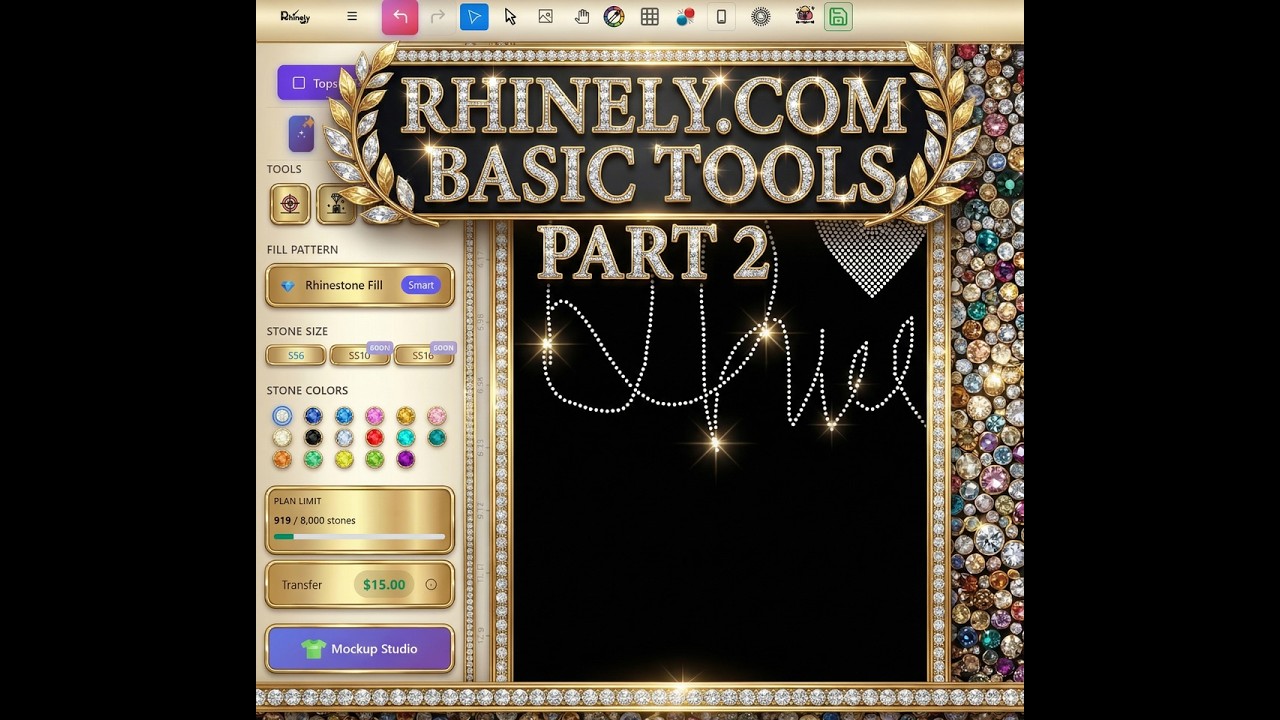
Basic Tools Part 2 moves deeper into the creative tools inside Rhinely. This lesson covers the tools used most often when turning an idea into rhinestone artwork: lines, shapes, text, individual stones, brush strokes, fill modes, colors, and stone counts.
1. Set up a clean canvas
The video starts by creating a new design and using a darker background so light rhinestones are easier to see. Product choices, zones, ordering, and fulfillment are mentioned, but the lesson stays focused on design tools.
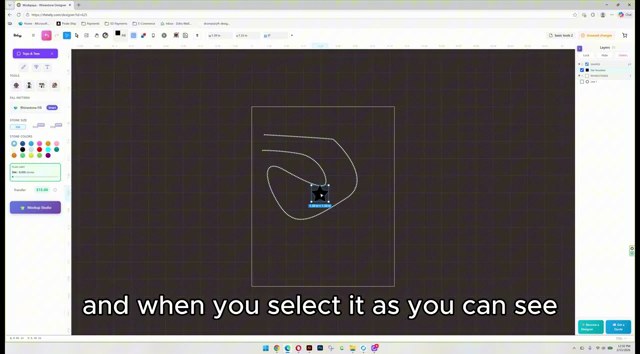
2. Draw with the Line Tool
The Line tool creates custom lines. Click to start, click again to create the next point, and continue building the path. When the line is finished, right-click to complete it.
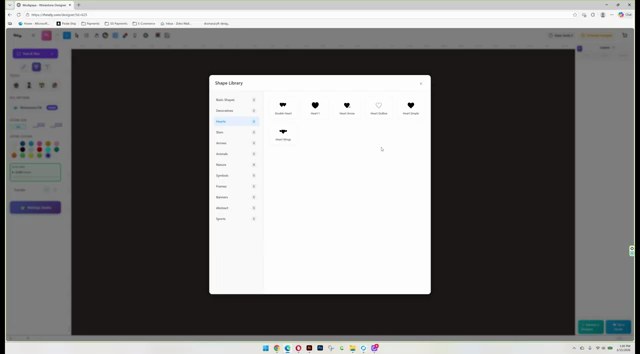
3. Use the Shape Library
The Shape tool opens the shape library. Use it for hearts, stars, icons, and simple forms that can become rhinestone artwork quickly.
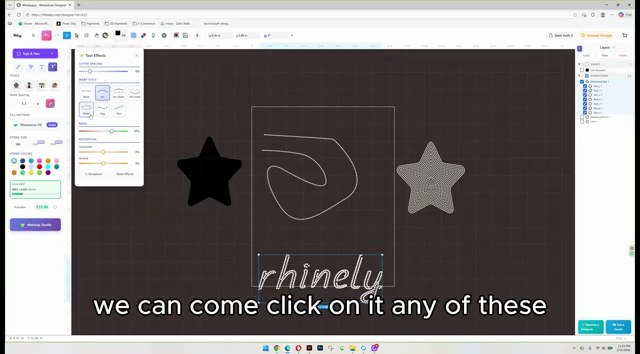
4. Add text with Google Fonts
The Text tool lets you type a word, choose a Google Font, favorite that font, and place the result on the canvas. Text starts in a grid-style rhinestone format, then you can switch to smart, outline, flexible, hexa, or other fills.
5. Place, brush, paint, and erase stones
Manual Stone places one stone at a time. Stone Brush creates groups of stones and includes spacing plus mirror options. Paint changes a selected area, and Delete removes stones or full forms depending on what is selected.
6. Choose fill styles and effects
Smart fills a shape densely, Outline places stones around the edge, Grid fills in columns, Flexible works well with bold fonts, and Hexa uses a hexagon-style fill. Burst can add glow, fade, or scatter effects around a shape.

Practice this lesson
- Draw one custom line and right-click to finish it.
- Add one shape from the library.
- Add one word using a Google Font.
- Switch the text from grid to smart or outline.
- Use the stone brush with a mirror option.
- Test smart, outline, flexible, hexa, and burst fills.
Watch the matching lesson
Leave a comment
Your email address will not be published. Required fields are marked *
Related Articles

How to Add Text in Rhinely and Turn Fonts into Rhinestone Designs
A beginner-friendly text tool guide showing how to choose Google Fonts, set spacing, convert text to rhinestones, apply text effects,...
Read guide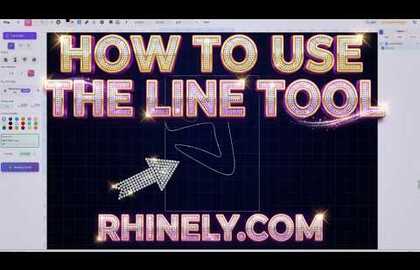
How to Use the Line Tool in Rhinely for Custom Rhinestone Shapes
Learn how the Rhinely Line Tool creates connected points, custom outlines, and clean rhinestone-ready shapes inside the designer.
Read guide
Rhinely Basic Tools Part 1: Selection, Images, Grid, and Collision Checks
A practical recap of the first Rhinely basic tools lesson covering selection tools, image import, workspace controls, grid visibility, overlap...
Read guide