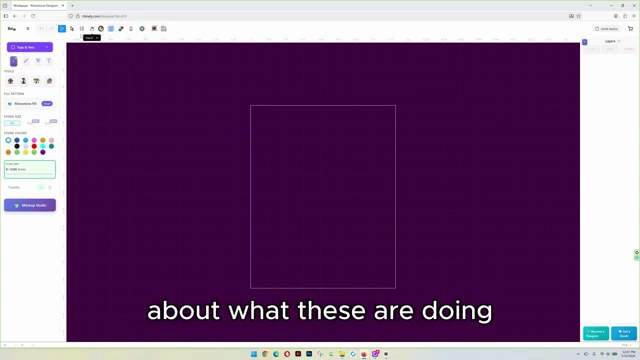
The first Basic Tools lesson is a tour of the Rhinely workspace. It shows where to start a new design, how selection works, and which buttons help you keep a rhinestone project clean before it is ready for production.

1. Start from My Designs
From the profile menu, open My Designs or go through My Profile and then choose Designer Studio. Create a folder if you want to organize your work, then create a new design and choose where it should be saved.
2. Use Selection and Direct Select correctly
The regular Selection tool selects complete objects such as shapes, images, or grouped rhinestone forms. The Direct Select tool is mainly for individual rhinestones, so use it when one stone needs a tiny adjustment without moving the full design.
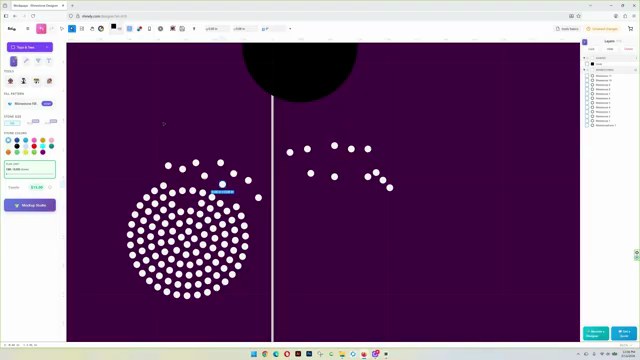
3. Add images and understand object options
The Image tool lets you select an image from your computer, then click and drag on the canvas to place it. Once the image is selected, Rhinely shows extra options for that object, including SVG-related tools for black and white conversion or color reduction.
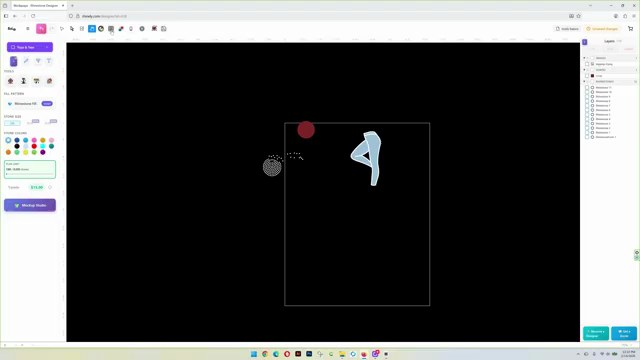
4. Adjust the workspace before checking the design
The pan tool moves around the canvas, the background color button can switch the canvas to black or another color, and the grid button can show or hide the grid. These small workspace settings make detailed rhinestone placement much easier.
5. Check overlaps with Collision Detection
Collision Detection highlights overlapping stones so you can fix them. A good workflow is to design with collision detection off, then turn it on near the end to clean up any problem spots.
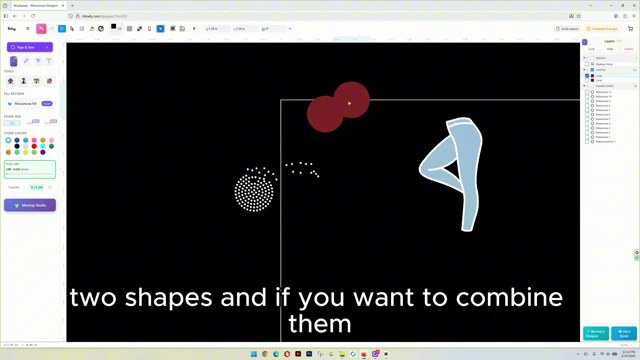
6. Preview stones and combine shapes
The 3D realistic view gives rhinestones a more realistic preview. The Compound tools let you combine, subtract, trim, or exclude selected shapes, which is helpful when building custom art before converting it to stones.
Quick practice checklist
- Create a test design inside a folder.
- Place one shape, one image, and a few rhinestones.
- Use Selection for whole objects and Direct Select for single stones.
- Change the background color and toggle the grid.
- Turn on Collision Detection and fix any overlaps.
Watch the matching lesson
Leave a comment
Your email address will not be published. Required fields are marked *
Related Articles

How to Add Text in Rhinely and Turn Fonts into Rhinestone Designs
A beginner-friendly text tool guide showing how to choose Google Fonts, set spacing, convert text to rhinestones, apply text effects,...
Read guide
How to Use the Line Tool in Rhinely for Custom Rhinestone Shapes
Learn how the Rhinely Line Tool creates connected points, custom outlines, and clean rhinestone-ready shapes inside the designer.
Read guide
Rhinely Basic Tools Part 2: Lines, Text, Brushes, and Fill Styles
A walkthrough of the second Rhinely basic tools lesson covering line drawing, the shape library, Google Fonts text, manual stones,...
Read guide